Smaller website images without losing the useful detail
A repeatable workflow for choosing the right crop, comparing compression and checking images on the page.
A small set of correctly sized web images, with originals retained and visual checks recorded.
An image should support the page at the size people will actually see it. Sending the largest available file does not automatically improve the result. This workflow starts with the layout, then reduces unnecessary data while checking the information the image needs to preserve.
Free boundaries before you start
Source checks for this workflow. These notes clarify older catalogue summaries; they do not change your saved toolkit.
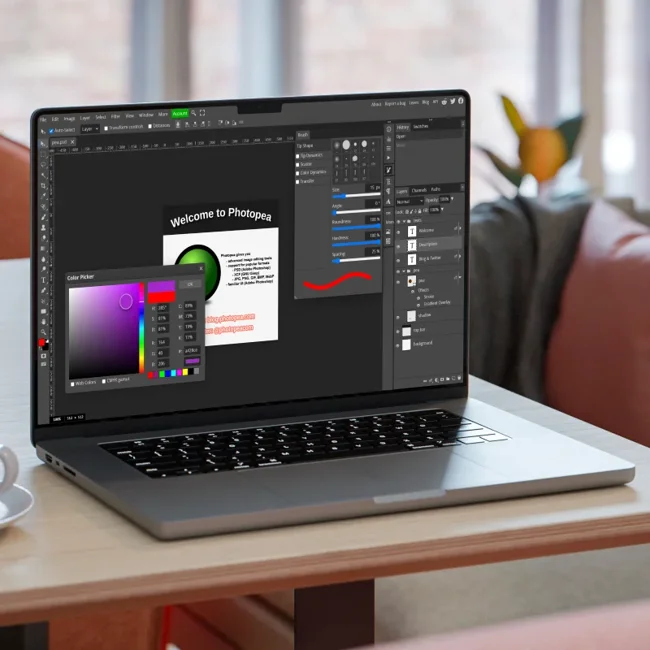
Photopea · checked 2026-10-13
Core local browser editor remains free and ad-supported; PSD and common image formats supported. Premium removes advertising. No numeric AI-credit or cloud-storage quota was confirmed in this check. No open-source licence was established; fonts and imported assets retain their own rights.
Account requirement not confirmed in this source check.
A small example to aim for
01BOTANICAL SOAP
01BOTANICAL SOAP
FreeStack example output · illustrative, not a provider screenshot or a tested export.
Jump to a step
Identify the image’s job
Separate product-detail photography, decorative backgrounds, logos and interface screenshots. Each has different priorities. A screenshot must keep text readable; a background may tolerate more softening. Note the largest rendered size and likely crops before making exports. Keep originals outside the delivery folder.
Crop before you compress
Use Photopea or another suitable editor to remove irrelevant space and prepare a crop that fits the layout. Check that the subject stays visible in both wide and narrow versions. Avoid baking interface text into a decorative image if the page could display it as real text. Export a clean working version for comparison.
Compare a few sensible exports
Use Squoosh to explore a smaller raster export. Compare fine detail, gradients and important edges at the intended display size. Select the smallest result that still does the job rather than chasing a particular score. Record the dimensions and format so another person can repeat the decision.
Treat vector assets separately
For SVG files, SVGOMG is a candidate for removing unnecessary data. Inspect the result before replacing the original, especially when it contains text or effects. ImageMagick can help with repeated image-processing tasks, but test a small batch on copies before applying a command to a large folder.
Check the real page
Load the images in the actual layout and inspect a narrow screen as well as a large display. Confirm that the crop is sensible, essential detail is visible and descriptive alternative text is present where needed. Keep dimensions reserved in the layout so an image appearing does not move the content unexpectedly. Compare before-and-after file sizes without claiming a performance improvement you have not measured.
Your workflow, connected.
Follow the steps and carry the output into the next stage. These are suggested handoffs, not automatic integrations.
Provider information
Check current plans and documentation before committing to a workflow.
View 3 provider links
A couple of useful questions
Is there one correct file size?
No. The appropriate size depends on the image’s role, dimensions, detail and delivery context. Compare realistic alternatives on the actual page.
Should I automate everything?
Automate repeatable choices after you understand them. Keep exceptions for images where small text, colour or fine detail needs extra inspection.
What would you try?
Share your result or ask a specific question about this workflow.
Join the conversationKeep building
 Excalidraw
 Penpot
Make a three-screen prototype before you build the app
Use Excalidraw and Penpot to test the start, the action and the result before committing to implementation.
Excalidraw Visual Studio Code
 shadcn/ui
From prompt to prototype: a free stack for vibe coders
Turn one small app idea into a testable prototype, with a clear brief, editable components and a sensible backend plan.